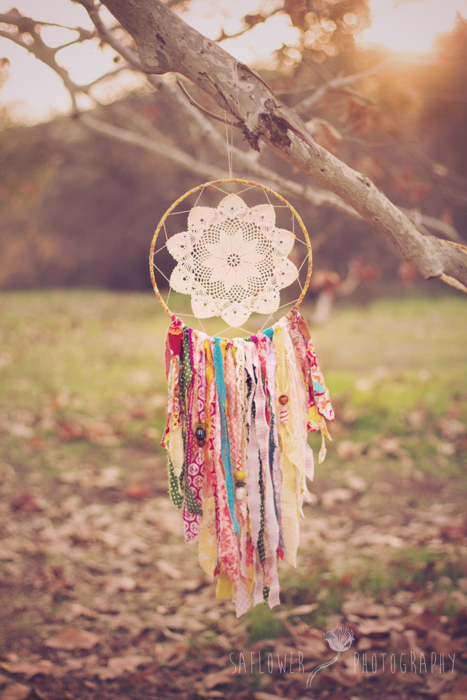
Summer always makes me long for flower crowns, maxi dresses and good music. I always want to bring the outside in, and hit the road.
I have a pretty wide hippie stripe and summer busts it wide open.
And, of course, I'm always full of house projects. So today I'm bringing you a crafting tutorial:
My Boho dreamcatcher wreath!
(someday, maybe I'll get into pretty photo editing on this blog. But it is not this day)
As usual, I was mega inspired by Pinterest... I mean, with pictures like these, what's not to love?

Bright, beautiful, laid back...
And then, I had a thought: A dream catcher wreath for my upstairs front door!
A little more pinterest searching led me to this image:

And I was hooked. So I did some googling, and bought a 12 inch grapevine wreath at Jo-Ann's ($4.99). I pulled out some embroidery floss and some ribbon and I got crackin'.
After I finished the web part, I simply tied my ribbon scraps along the bottom, and then trimmed them to a length I liked. Then I simply hung it on a nail from my front door, and, well, I love it!
So, to recap:
Supplies:
12 inch grapevine wreath ($4.99)
embroidery floss in color of your choice (white is traditional, I used multi colors that I already had on hand)
ribbon scraps, beads, feathers, trims etc.
1. Watch the video and make the "web" part
2. Tie on your trims, scraps and beads
3. Trim the ends until you are pleased with them
4. Generally fidget all of the pieces. I tied a bow and added a piece of trim I'd pulled off of a top for a show I was working on
5. Hang and admire!
Thanks for reading- until next time!
xoxo
This post is a part of my Summer Series: $5 Summer fun. For more posts in this series, please start here.


No comments:
Post a Comment